To recap from my last post, I am working through this video, 5 Ways to Make an Animation GIF in Procreate, by Bardot Brush on YouTube. The video is a great tutorial for a newbie like me, that goes into pretty good detail of how to use this app and it’s functions for animation.
I am on the third method Bardot demonstrates…
Animation Using Liquify

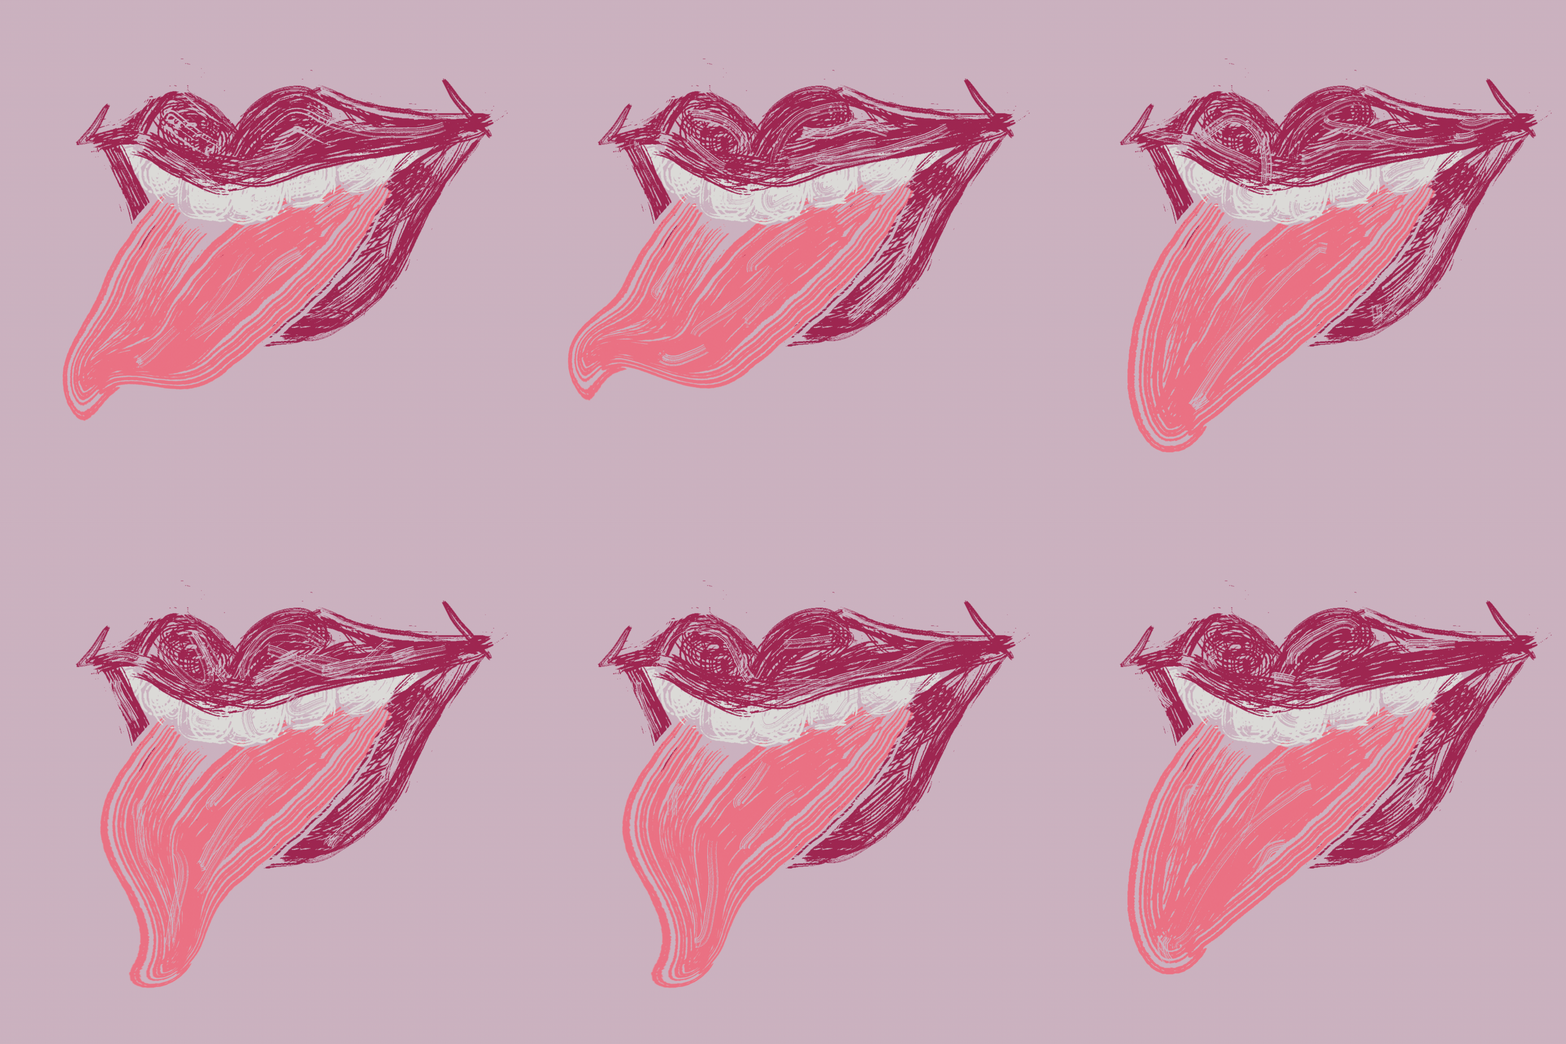
Animation Using Liquify Test, Rena Kanya via Procreate
This process of animation uses the liquify tool in Procreate to slowly bend the image to create movement. For example you duplicate your unmodified image and in the new layer, use the liquify tool to distort it slightly. Then repeating that process to create your animation. In her example Bardot makes an arm bend unnaturally down and then up, not forgetting this is a loop and needs to end where it started to keep it a smooth animation.
 She also introduces a very useful tip called an onion skin. This is a white layer with about 50% opacity, which creates a thin layer between your frames so you can see that last frame with a lower opacity. As you create more frames, the onion skin, last frame, and current frame only need to be visible. The onion skin moves up and between the two frames being worked on as you go.
Guided Motion

This method is creating motion with a guide. Pretty simple, right? First thing Bardot says to do is draw your image, she used a paper airplane. On the next layer you draw a dark line, which maps out the trajectory of the paper airplane. This is the guide layer, and the opacity can be lowered to about 50%. After this the object you’re wanting to animate simply gets duplicated and over and over again, with the first frame staring where the guide line starts and the next ones slowly moving the duplicates alone the guide line to create the motion.

Guided Motion Animation Test, Rena Kanya via Procreate
Once your object is duplicated and following the guide line from one end to another, you basically have your frames for your animation. After texting that the flow of the animation is how you want it, the guide line layer can be deleted and your animation is complete. This might be one of the easier methods for animating on Procreate because you are only moving one already drawn object across the canvas, rather than redrawing it or manipulating it. While it doesn’t make for a very dynamic animation, I can see this method being used alone side some the other methods shown.
Isolated Movement

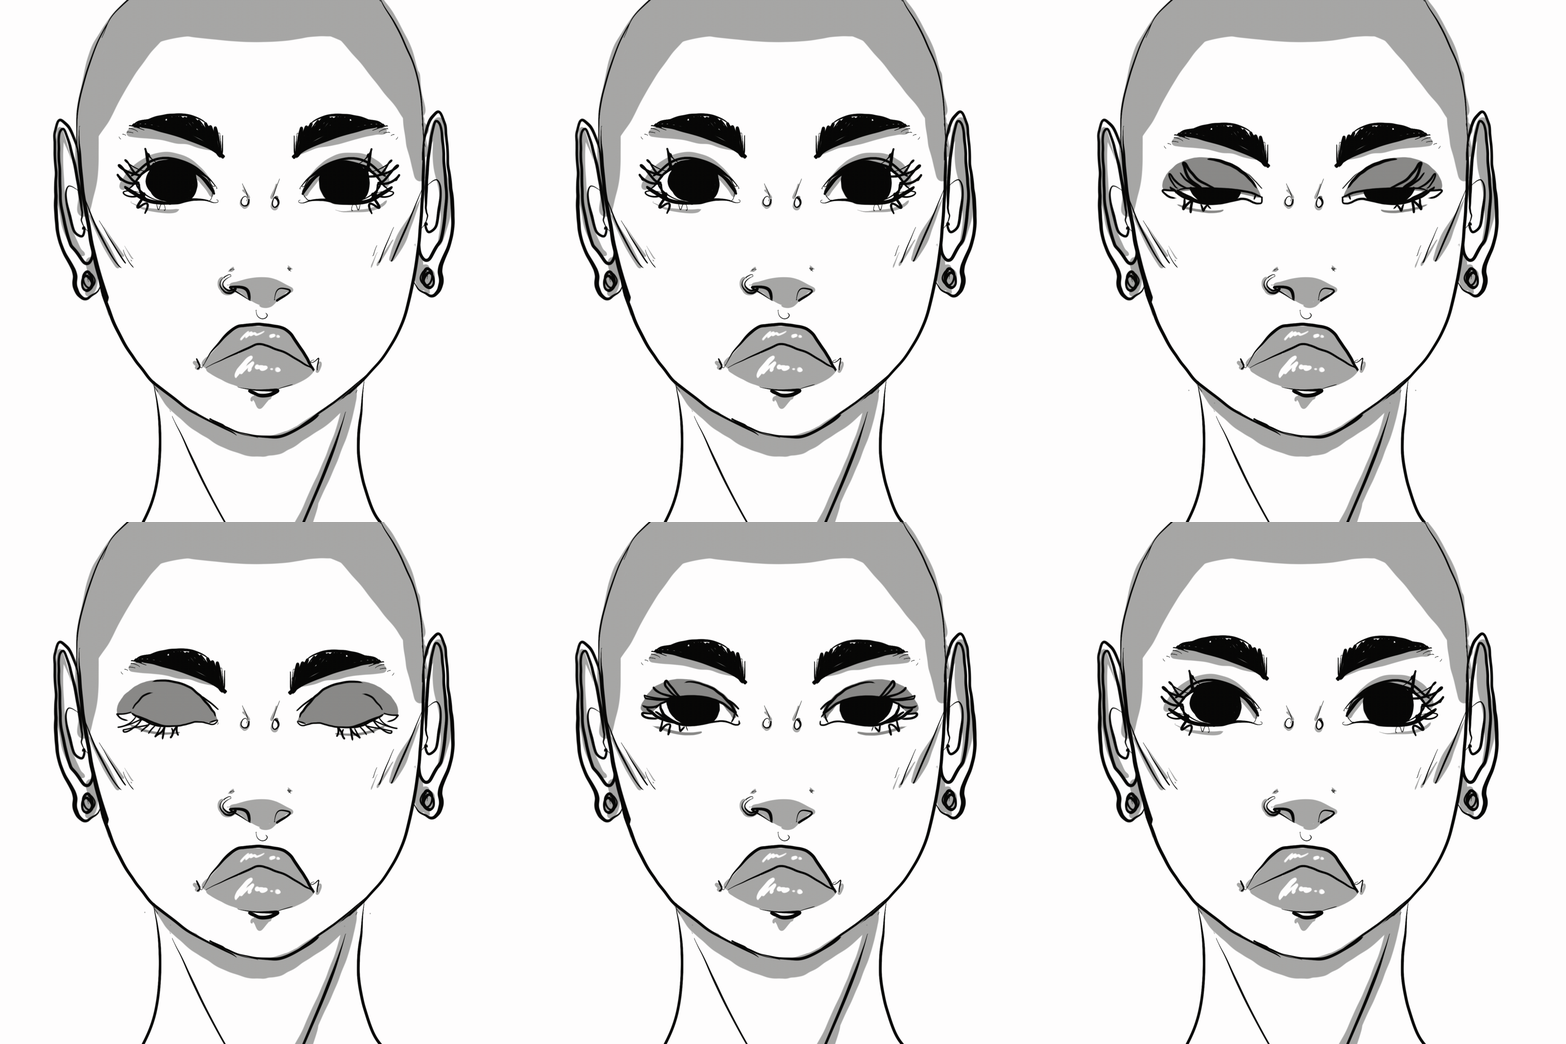
Isolated Movement Animation, Rena Kanya via Procreate
This method shows you how to use layers to animate only a portion of your art work. Bardot created a static dragon breathing animated fire. The dragon is drawn and all layers are merged into one. Now for the fire. The fire is drawn in a new layer. A good tip is to save the colours you’re using in a colour pallet for easy access. Bardot saves the three colours she uses for her fire so she can quickly access them when drawing her new layers. Now create a group with the dragon layer and the fire layer by selecting both layers and tapping the group option at the top of the layers menu. To make the next frame of animation duplicate the group, now select the layer that is going to be animated and select clear to clear the whole layer. Bardot does not use an onion skin like before for her dragon’s fire because she wants it to be a more random shape. In my test animation I opted to use the onion skin because of the eyes of my drawing would have come out funky if I had tried to freehand them each time. This way my animation looks smooth, while Bardot wanted a random feel to hers.

November 17, 2020 at 1:24 pm
Hi Rena,
I really love your layout and attention to details in your post. It is really aesthetically pleasing and easy to read! I love the mix of method and personal experience. Really interesting read!
I wonder if you could screen record your drawing process for us to see?